Friday 19 December 2014

Nevermore (slow progress)

 This is the mount for a three dimensional piece about the crows at the tower of London. The final piece will mix traditional lead light work with the lighter weight three dimensional copper foil work.


                                                   hopefully it lives up to my bus sketch.

Wednesday 19 November 2014

Wilt Wither Wimple (Progress)

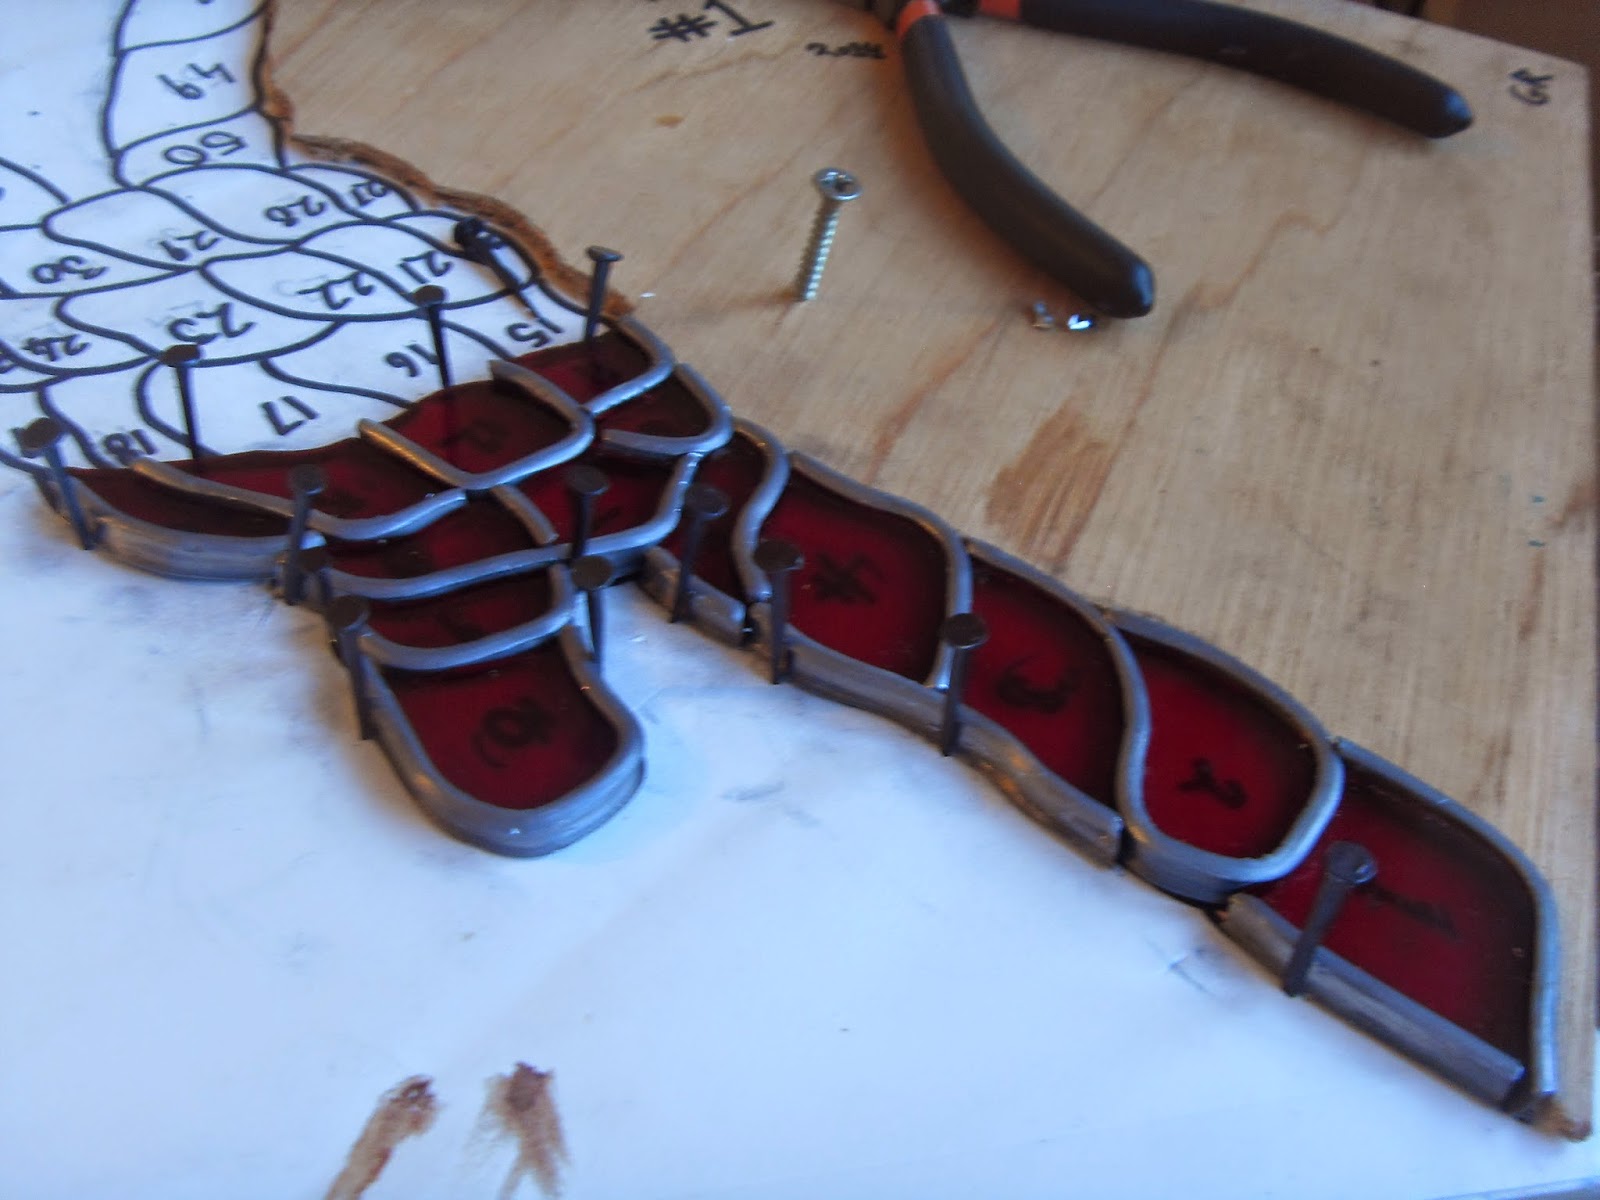
 The rosary style thorns are based on the classic celtic knot form.
 There is still one element of the piece left to make,the cross at the end of the rosary.

 This piece is my first attempt at using Copper Nitrate acid to alter the finish of the metal. This could become a useful process once mastered.

 The piece in profile showing it three dimensional construction.  It is built around a light sensitive bulb that adjusts its brightness to the room in which it is placed.


The story behind this peice is in this previous post.
http://glenriches.blogspot.co.uk/2013/08/wilt-wither-wimple.html

Friday 31 October 2014

Wilt Wither Wimple (3D rose section)


 A small 3D glass tudor rose which will be part of the tiny Wither,Wither,wimple piece. The scale of the piece is making it extremely difficult in every aspect from cutting to cleaning.
That was supposedly the easy part.... now on to the celtic knot type thorns.


 The petals tack soldered into position.


 Petals tacked into place,


The finished tin soldered rose, needing a bit of finishing but as a first copper foil piece im happy with this first stage.

Monday 13 October 2014

Copper foil tests

I have started very basic inquiries into copper foil work in stained glass. Copper foil is a process in which glass can be made 3D.


Very poor results so far but its very early days and I have big plans for this process.

Sunday 12 October 2014

Great Pit of Aldgate (final stages)

 After extensive tests with oils, varnishes and other potions the slates are finished and sealed.  The piece is cleaned and black iron polish is added to the lead.
 The window is mounted into a light box I made earlier and an internal structure is added to protect the window.

The box just needs a bit of a fiddle and then the window is ready. My first completed large scale window.

Sunday 21 September 2014

Great Pit (lead and stone work)


The piece as it stands now. The glass has been leaded up and the sheets of slate which comprise the backing of the piece have been carefully cut around the glass itself.


 The isnt my first time cutting stone but its worlds away from cutting a door into a brick wall. All in all its alot easier that I feared it would be.

The final stages of the piece are to lead the stone work to the glass and then to mount it into the light box. I'am also considering applying a finish to the slate but That requires more thought.

Sunday 7 September 2014

Great Pit Mk2

A timelapse of the cutting for the new and improved Great pit of Aldgate window (since now its made from real stained glass). A mixture of having to cut tiny organic shapes and using the darkest glass available make this a tricky piece. The next challenge is inventing a way to cut slate into similar small organic shapes. wish me luck.


Sunday 27 July 2014

The Great pit MK2 (pattern)


 Complicated Glass work, large scale, thin lead and I'm using sheets of slate in this piece too. Conventional wisdom says this shouldn't work. I tend to agree but we'll see.


The slate will replace the cast earth which I used previously. Hopefully this will amount to a stained glass mixed media window which still has the structure as a piece purely made of glass.


Wednesday 16 July 2014

Results (Test batch finished)


Meh. They might make good giveaways at an exhibition.

Sunday 29 June 2014

Test Batch (Great Pit of Aldgate)

I'm working on a full scale piece of glass that may ring a bell for people who saw my pre-real stained glass work. The Great Pit of Aldgate is being re-made.

In the mean time until I can get the lead and glass I need I'm making small versions out of scrap glass. 


 The painting is its own skill which as yet I don't have. It'll get there but im a sculpture not a painter.
Below is the original piece I am hoping to best. I now have the tools and a little bit of knowledge to do justice to the concept that I don't feel I did before.

Sunday 18 May 2014

Finished Noose

 Just need to add some links for display and then its 100% done but that wont change the appearance so here it is.
Hopefully better than the old version.


Saturday 17 May 2014

Tyburn Tree Test (Finishing up)

 Leading up the remainder of the rope.


 The piece ready for soldering.


All Soldered and Cemented up. The cement takes two days to dry and then I clean the noose and add eyes/hooks for display. Not bad for a days work. when its all cleaned I can compare it to the sub Parr one I did in uni. 

Id like to make a series of these and build a mini gallows. I'd need 24 to make a true Tyburn tree and i dont think i could manage that at the moment. I'll keep that idea in my pocket.

Friday 16 May 2014

Tyburn Tree Test (leading)


That's the tricky bit done (touch wood). I tried to keep as many single fluid lines as possible. The success or failure of the experiment wont be clear until the piece is fully leaded and finished. I like it so far. So much better already than the plastic mounted version I did before.

Sunday 11 May 2014

Tyburn Tree Test (cutting)

We have the technology we can rebuild it! A failed piece that can now be made as I have a vague clue in glass construction. With this test piece I hope to find if irregular patterns with gaps in them will hold their shape when complete. Maybe I wont even cement it and see how flexible I can make it (blasphemy!).